How To Make Cold Brew Coffee
One of cold brew coffee’s main advantages is its simplicity — and homemade cold brew is easier than ever with Cold Brew Bags. We’ve pared
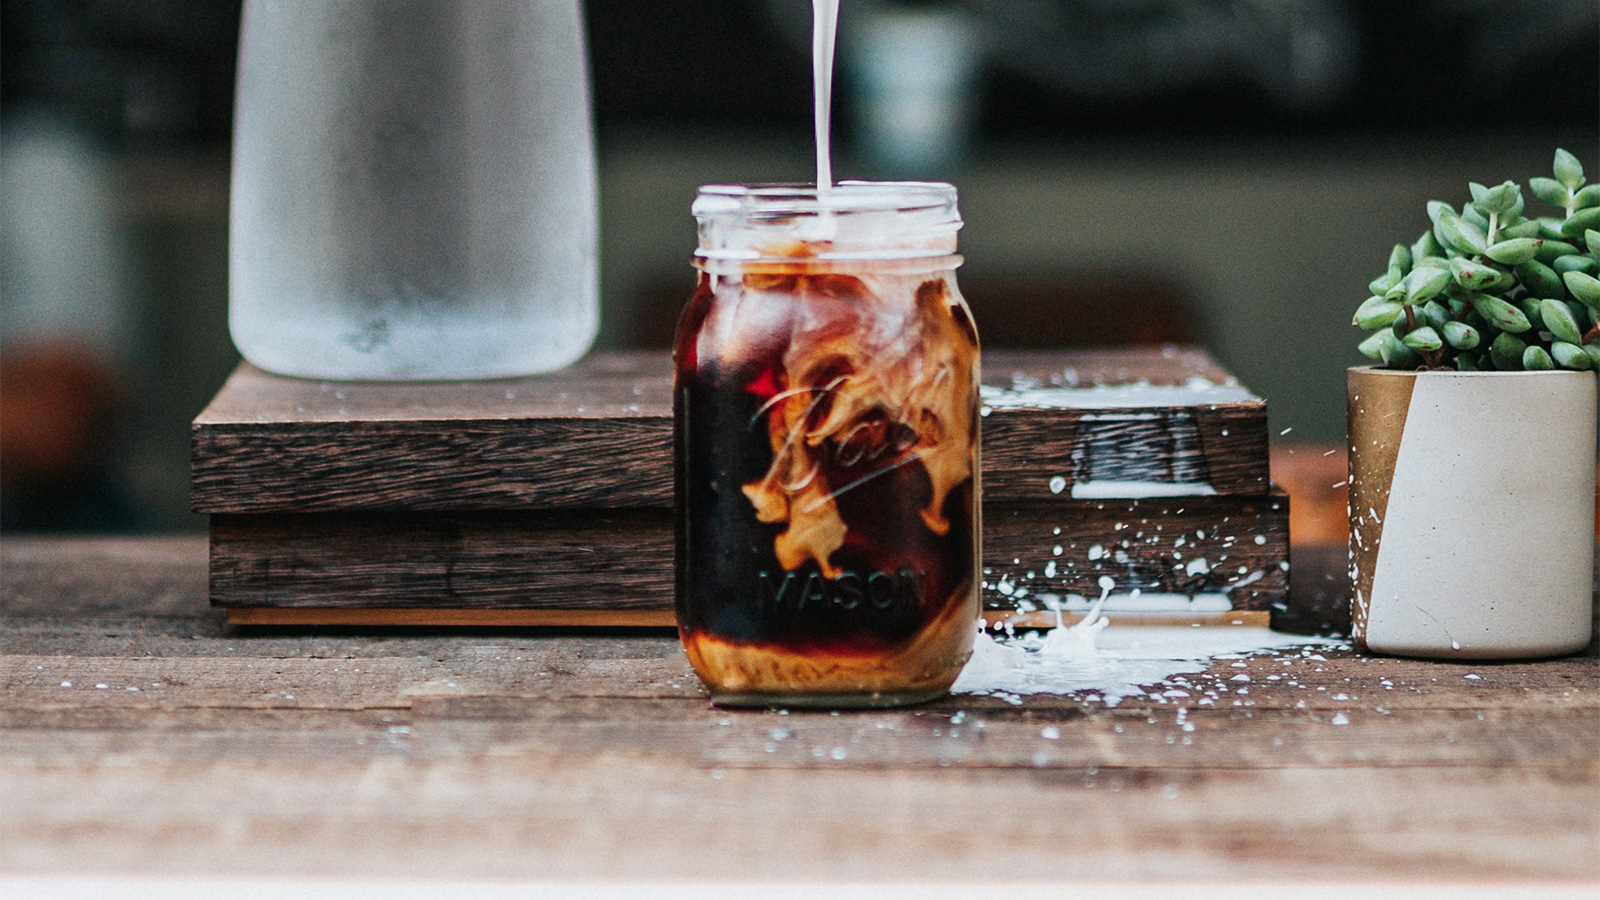
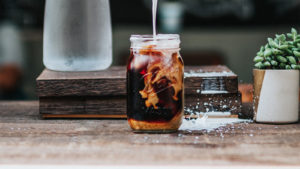
Simply put, iced coffee means any way to brew cold coffee that doesn’t involve espresso. Making cold brew, therefore, is making iced coffee. Brewing hot coffee and letting it sit in the fridge is also iced coffee. But our favorite method of making iced coffee is flash brewing.
Flash brewing (or flash-chilled coffee) is the process of brewing coffee directly onto ice. This simple brewing process cools the coffee, making it both convenient and helping the coffee taste less stale, which can happen while coffee cools to room temperature. Because ice dilutes coffee, our recipe uses less brewing water to maintain the coffee’s flavor, taste, and caffeine strength as the ice melts. And since you’re not using cold water (which has trouble breaking down some of the roast’s flavor compounds), flash brewing ends up tasting brighter than cold brewing.
Whether you prefer the control of a pour over or the convenience of a drip coffee maker, we have a recipe for how to make iced coffee that is both delicious and easy.
Weigh out ice cubes in your Chemex (this recipe works for any pour over brewer with slight adjustments. Water flows relatively slowly through Chemex filters, so pour slower with a Kalita Wave, for example). Because ice shapes vary, a scale helps, but if you don’t own one, just fill your Chemex until the top of the cubes reaches a little higher than the level your finished hot brew would usually reach.
Place the coffee filter into your brewer and pour the coffee grinds in. Start your timer, and pour 80 grams of just off-boiling water, or just enough to evenly saturate the grinds. Wait 45 seconds. We call this period the bloom, as the boiling water helps release the built up carbon dioxide in the coffee so that the rest of our water can really get in there and dissolve the flavor compounds.
Start slowly pouring water, from the center of your coffee grounds out, trying to wet all the grinds evenly. Remember, we’re only using half the water we usually would for brewing hot coffee, but we don’t want to take half as long, so pouring slowly is key, but you’ll want to get all your water in at around 2.5 minutes. Here’s how to accomplish that:
Wait until all the coffee drips through, melting all or most of the ice, pour into a tall glass (or your preferred vessel) and enjoy!
Pour 300 grams of water into your drip coffee maker’s water reservoir, and place 300 grams of ice into your carafe. If your brewer has a hot plate that you can turn off, turn it off (if you can’t it’s not the end of the world).
Next, add your grounds into the filter as you would when making standard drip coffee.
Hit the brew button and let your machine do the work. Pour the flash-chilled coffee into your vessel of choice and enjoy your delicious iced coffee!
While we’ve provided specific amounts of coffee, ice, and water, it is exceedingly simple to brew iced coffee with any pour over or automatic drip device that you would brew hot coffee with. Just use the same amount of coffee you usually use, half the amount brewing water, and fill your tall glass with ice a little higher than it usually ends up filled with brewed coffee.

One of cold brew coffee’s main advantages is its simplicity — and homemade cold brew is easier than ever with Cold Brew Bags. We’ve pared

A classic for a reason, the French press could hardly be easier to use. No worrying about how long it takes for water to flow
You have to start somewhere and the classic automatic drip coffee maker is a great place for beginners (or coffee drinkers of any skill level).
